Capturing the unique charm of fungi can be a challenge.

They grow in some unusual places, high up and low down, and often appear in damp, dismal conditions.
We spoke to two experts in the fungus photography field – they shared some useful tips to help you get started photographing this special kingdom of organisms.
Emma Plant goes by @terrafluxcreations on Instagram and is based in Sheffield, South Yorkshire. Mike Atkins is a professional photographer who, with Alex Dixon, curates the speciality fungus account @mycophoria.
Emma says: Using your phone's camera is a fantastic way to begin photographing fungi.
The type of camera you’re using doesn’t matter, it’s how you use it! I use a very old Nikon D100 with an 18–55 mm lens to take the majority of my photos, but I also love using my phone camera.
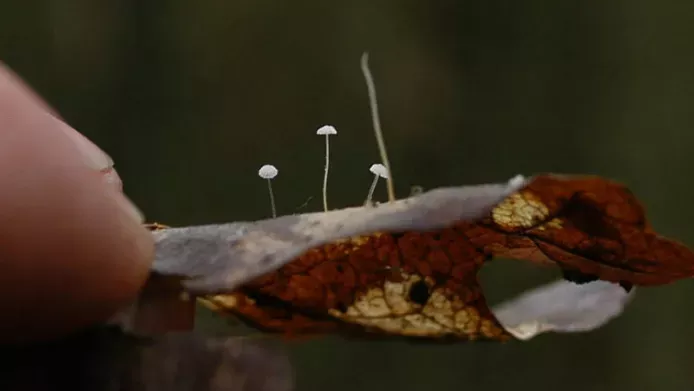
Credit: Emma Plant

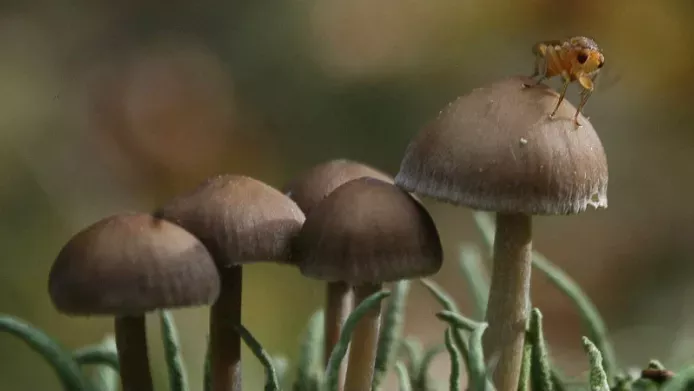
Credit: Mike Atkins
Emma: If you’re using a DSLR or other dedicated camera, look through the viewfinder and move around the mushroom to find the best lighting and angles.
Mike: Sometimes the best part of the fungi is underneath.
Emma: Don’t be afraid to get dirty and get down to the fungus’ level! It makes it easier to see what you're taking a photo of, and you can get wonderful angles.
Spending some time looking around and delving into the environment can really bring out some fascinating subjects.

Credit: Emma Plant
Pay attention to backgrounds and look for contrasting colours – colours are more vibrant after rain, so why not head out after a spell of wet weather?
Don’t be afraid of cropping images to showcase particularly interesting details, like mushroom gills, as the focus of the shot.
Mike: If your shot is looking cluttered, brush off dirt and other detritus from the fungus and clear away debris around it to simplify the composition. You could carry scissors to trim grass from around a fungus to give an unobstructed image – but make sure not to damage any of the habitat and use the softest brush you can.
Emma: If you come across mushrooms that have been knocked over you can get some really beautiful close ups.
Mike: But if the macro shots aren't working for you take a step back, shoot wide and get some context in your shot.
Credit: Emma Plant
Mike: One easy trick is to shoot with the sun behind your subject for a dramatic shot and a blurred, bright background – this is particularly nice with dappled light coming through a tree canopy.
Try to avoid using the flash on a camera or phone, as it’s prone to giving pictures a washed-out, flattened look. You could try getting a cheap ring flash, as they’re designed for taking in-depth shots and cheap LED ones can be found online for phones and cameras of all kinds.
You could try taking a torch and use it to light your photos. Many bike lights are bright enough to light a subject and can help bring out the colour of vibrant fungi. Try holding the torch in different positions and experiment with what looks best.

Credit: Mike Atkins
Mike: You can revisit locations to find different mushrooms. Re-walking the same path at different times of the year is a good idea.
Take a kneeling mat or plastic to lay on, as fungi are often found on muddy woodland paths, or wear waterproof trousers. Make sure you wrap up warm and take a brew, as well as wearing wellies or boots, to make sure you’re toasty warm and enjoying yourself.